AI Product Photography: Phone Photo to Store-Ready Shot
Learn AI product photography step by step: shoot on your phone, clean the background, generate a styled scene, and export a store-ready image or clip.
Updated Sep 26, 2026 7 min read
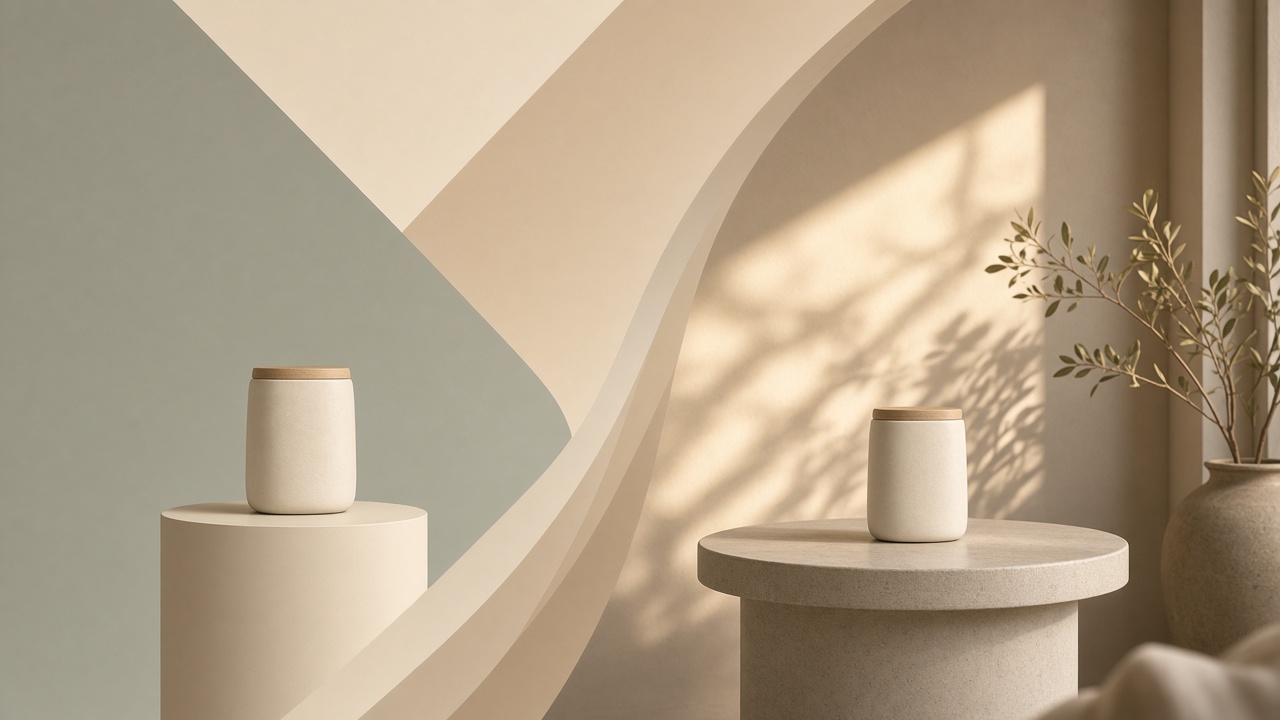
You don't need a studio, a lightbox, or a photographer to get a clean product photo for your store. You need one decent phone photo and an AI image editor that can strip the background and drop the product into a new scene. This guide covers both halves: how to shoot a base photo that AI tools can actually work with, and the exact steps to turn it into a styled, store-ready image (and, if you want one, a short video) in Plurel.
What "AI product photography" actually means
Most of what looks like a full reshoot is really one photo, edited three ways. An AI image editor first separates your product from its background pixel by pixel, then generates a new background around it, and finally relights the product so shadows and reflections match the new scene. The product itself doesn't change — only what's behind and around it does. That's why the quality of your original photo still matters: the AI is compositing and restyling, not inventing the product from nothing.
This is different from text-to-image, where you type a description and get a picture with nothing real in it. Product photography needs an image editor that takes your real photo as input and works from there, which is what keeps labels, logos, and proportions accurate.
Step 1: Shoot a base photo your phone can actually nail
You don't need special gear, but a few habits make a big difference to the final edit:
- Use flat, even light. Daylight near a window or an overcast day outside beats a single overhead bulb, which creates hard shadows the AI has to fight against.
- Shoot against a plain, contrasting surface. A white wall, a table, even a bedsheet works — the AI cuts out the background, but a cluttered or busy backdrop makes that cut messier around edges like straps, hair, or transparent packaging.
- Fill the frame with the product, holding the phone level and square-on, then take one or two extra angles in case the first doesn't crop well.
- Avoid glare and reflections on glossy or metallic products by shooting slightly off-axis from any light source.
- Keep it in focus and reasonably high resolution — tap to focus on the product before you shoot, and don't zoom digitally; step closer instead.
That's it. One clean, sharp, well-lit shot is a better starting point than ten mediocre ones.
Step 2: Clean up the background
Once you have your photo, the first AI step is removing the background entirely so you have an isolated product on transparency. This is useful on its own — a plain cutout is what most marketplaces want for the primary listing image — and it's also the base for the styled version in Step 3.
Do it in Plurel
- Open Plurel and sign in with Google (free, 60 credits to start).
- Under the composer, open the Image chip, or go straight to the tool at plurel.tech/?model=bg-remove.
- Upload your phone photo.
- Run it. Removing a background costs 0.5 credits, and you get back a clean cutout with a transparent background.
If the edges look rough around fine details (mesh, fur-trim, glass), retake the photo with a bit more contrast between product and background and run it again — the tool works from what's actually in the pixels.
Step 3: Generate the styled scene
This is the step that turns a plain cutout into something that looks shot on location: a marble countertop, a sunlit outdoor table, a minimalist studio backdrop, a seasonal set. You do this with an image editor and a written instruction, not a fresh prompt from scratch.
Do it in Plurel
- From the Image chip, open Edit at plurel.tech/?model=image-edit, and upload either your cutout from Step 2 or the original photo.
- Pick a model based on how much control and detail you need (see table below).
- Type an instruction describing the new scene, for example:
Place this product on a light oak table by a window, soft morning light, shallow depth of field, no other objectsPut this bottle on a black marble slab with a single dramatic side light and a soft reflection below itSet this bag on a neutral linen backdrop with a small potted plant just out of focus in the background
- Approve the credit cost shown before it runs.
- Review the result for label accuracy, then use a follow-up message like "make the light warmer" or "move it slightly left" to adjust — the chat edits what was just made rather than starting over.
| Model | Price | Best for |
|---|---|---|
| Plurel Lite | 0.5 credits | Quick drafts to test a scene idea before committing credits |
| Plurel Pro | 1.5 credits | Clean 4K stills once you know the look you want |
| Seedream 5 | 3 credits | Sharp detail and accurate prompt following at 1K/2K |
| Qwen Image 3 Pro | 2.5 credits | Packaging with small legible text, in multiple languages |
| GPT Image 2.5 | 3.5 credits | Complex edits and reference-matching for tricky products |
| Nano Banana 2 | 4 credits | Premium photorealistic results for portraits and hero shots |
If you're not sure which to pick, start with Lite to test the scene, then re-run the winning prompt on a higher-end model for the final export. For a deeper comparison of these image models, see Best AI Image Generator in 2026 and Nano Banana 2 Explained.
Step 4: Upscale for print or zoom
If the final image needs to hold up at large sizes — a flyer, a banner, a zoomed-in product page — run it through Upscale at plurel.tech/?model=upscale for 1 credit to bring it up to 4K before you export.
Optional: turn the still into a short clip
A slow pan, a turntable spin, or a subtle zoom on the product can work well for social ads or a product page hero video. Once you have your styled still:
- Open Animate at plurel.tech/?model=animate and upload the styled image.
- Describe the motion, e.g.
slow 360 turntable rotation, studio lighting held steadyorgentle push-in, soft light shift as if the sun moved. - Pick a video model: Seedance 2.0 Mini starts from 5 credits for a fast, cheap 4–15s clip with sound; MiniMax H3 starts from 12 credits and generates 2K video with native stereo sound from a photo; Veo 3.1 Fast starts from 20 credits for an 8s 1080p clip with realistic motion.
- Approve the credit estimate, generate, and use "continue that clip" in the chat if you want to extend it afterward.
For more on this move, see How to Turn a Photo Into a Video With AI and Seedance 2.5 Prompts if you want to try the higher-end Seedance model instead.
Turning it into a finished ad or flyer
If the end goal is a social post rather than a listing image, skip straight to the purpose-built tools once you have your styled product shot:
- Social Ad at plurel.tech/?model=social-media-ad builds a social media ad image for 4 credits.
- Flyer at plurel.tech/?model=flyer builds a printable flyer for 4 credits.
Both can use your styled product photo as the hero image. For a full walkthrough of building the ad around it, see AI Video Ad Generator: TikTok/Reels Ad in 10 Minutes.
Let the chat plan it for you
If you'd rather describe the end result than run each tool by hand, open the chat with a model that has tools — Claude Opus 5.5 (1.5 credits), Claude Sonnet 5 (1 credit), or GPT-6 Astra (2 credits) — upload your phone photo, and ask for what you want: "remove the background, put this on a rustic wood table with warm afternoon light, then make it a 4K image." The model plans the steps and shows you the credit cost before it runs anything, so there are no surprises.
Troubleshooting
- Edges look torn or fuzzy after background removal — retake the photo with more contrast between the product and its background, then re-run the cutout.
- Label text is garbled or a logo shifted — this happens when the edit instruction touches the product itself; rewrite the prompt to only describe the background and lighting, not the product.
- Shadows look flat or fake — mention the light direction explicitly in the prompt (e.g. "soft light from the upper left") rather than leaving it to guess.
- Colors shifted slightly from the real product — this can happen with aggressive restyling; try a lower-credit model first for a quick check, and note in the prompt to "keep original product colors unchanged."
A phone photo, a background removal, and one styled edit is the whole workflow — most stores can get a usable shot for well under 5 credits.
Questions people ask
- What is AI product photography?
- It is using an AI image tool to turn an ordinary product photo, often shot on a phone, into a clean, styled, store-ready image by removing the background and generating a new scene around the product instead of building a physical set.
- Do I need a professional camera for AI product photography?
- No. A steady, well-lit phone photo with the product in focus is enough input; the AI editor handles the background and styling, though a sharp, evenly lit original always produces a cleaner result.
- Will AI product photography distort my logo or label?
- It can if the prompt asks for heavy changes to the product itself, so keep instructions focused on the background and lighting, mask over the product where possible, and check text and logos closely before publishing.
- How much does it cost to make an AI product photo in Plurel?
- Removing a background costs 0.5 credits, and generating the styled scene costs between 2 and 4 credits depending on the image model, so a full styled shot typically runs 2.5 to 4.5 credits.
- Can I turn my AI product photo into a video?
- Yes. Once you have a styled still, the Animate tool can turn it into a short clip, with prices starting from 5 credits depending on the video model and length.
- Is AI product photography good enough for Amazon or Shopify listings?
- It works well for lifestyle and secondary images; for the main listing photo, check each marketplace's own image requirements since some require an unedited or plain-background primary shot.
Keep going
How to Make an AI Influencer (and Keep Her Consistent)
Learn how to make an AI influencer with a consistent face across photos and video, then build one step by step in Plurel.
Updated Sep 19, 2026
AI Video Ad Generator: TikTok/Reels Ad in 10 Minutes
Learn how to use an AI video ad generator to turn one product photo into a 9:16 TikTok or Reels ad in about ten minutes, with real costs.
Updated Sep 20, 2026
Best AI Image Generator in 2026: 5 Models Compared
The best AI image generator in 2026 depends on the job. Compare Nano Banana 2, Seedream 5, Grok Imagine 2, GPT Image 2.5 and Qwen Image 3 Pro on cost and use.
Updated Sep 23, 2026
How to Make a Short Film With AI, Start to Finish
Learn how to make a short film with AI: write the plan, design a hero character, animate 3–5 clips, and assemble the finished film in Plurel.
Updated Sep 19, 2026