AI Background Remover: How to Remove a Photo Background
Learn how AI background removers work and how to remove any photo's background cleanly, with sharp edges, in one click for 0.5 credits.
Updated Sep 19, 2026 7 min read
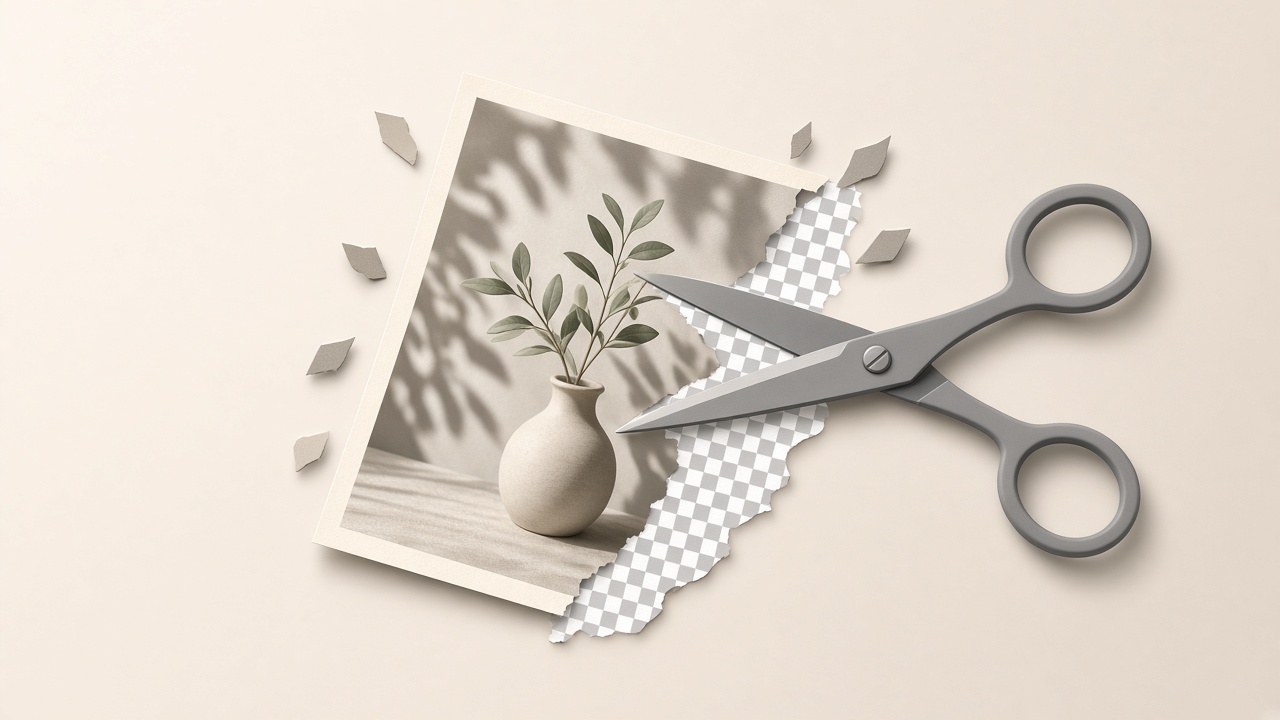
An AI background remover cuts a subject out of a photo and gives you back a transparent PNG, in one click, with no manual masking. You upload a picture, the model decides pixel by pixel what's foreground and what's background, and it hands you the subject alone. In Plurel this is the Remove BG tool, and it costs 0.5 credits per photo.
This guide covers how the technology actually works, when you should reach for it, how to get edges that don't look chewed up, and the exact steps to run it in Plurel.
How AI background removal actually works
Older background removal was manual: you traced around a subject with a lasso or pen tool, pixel by pixel. AI background removers replace that trace with a model trained to recognize where a subject ends and everything else begins.
One of the main benefits of AI background removal technology is its training on vast datasets of millions of images, which helps the AI recognize objects and patterns to accurately identify and separate foreground and background pixels. Instead of one hard line, the model outputs a soft "alpha" value for every pixel, from fully opaque (definitely the subject) to fully transparent (definitely background), with gray areas in between for things like hair or fabric edges. That gradient is what lets a cutout look natural instead of paper-cut-out fake.
The hard part isn't the flat, high-contrast subjects. A good model should successfully segment fine details, like bike spokes, even against blurred or similar-colored pixels. And the genuinely difficult cases are consistent across every tool on the market: a complex subject against a complex background, such as a transparent veil in front of flowers, poses a real challenge for any background removal tool. Glass, smoke, motion blur, and thin flyaway hair are the same weak spots for every AI cutout model, not just one product. Across tools, the real differences show up in edge quality, resolution limits, and how often you end up fighting halos and missing hair.
What this means for you: the AI is doing genuine scene understanding, not a green-screen trick, so it works on any background — but the cleaner and more distinct the subject is from its surroundings, the less cleanup you'll need afterward.
When you actually need a background remover
Not every photo needs its background stripped out. It's the right tool for a specific set of jobs:
- Product photos for marketplaces. Amazon, Etsy, and most storefronts either require or strongly prefer a pure white or transparent product image. A background remover turns a phone photo taken on a kitchen counter into a listing-ready cutout in seconds.
- Profile pictures and headshots. Swapping a messy or distracting background for a plain color or a blur keeps attention on the face — useful for LinkedIn, team pages, or app avatars.
- Compositing. If you want to drop a person, product, or logo into a new scene, illustration, or ad, you need the subject isolated first. The cutout becomes the input for the next step.
- Print and design assets. Flyers, packaging mockups, and presentation slides usually need a transparent PNG, not a photo with a background baked in.
- Memes and social graphics. Cutting a subject out to paste onto a different backdrop is one of the most common quick edits people make.
| Goal | What you actually need | Do this in Plurel |
|---|---|---|
| White background for a store listing | Transparent PNG, then a solid fill | Remove BG (0.5 credits), then Edit to add white |
| New scene behind the subject | Transparent cutout + a generated backdrop | Remove BG, then Edit or Image with a new background prompt |
| Sharper profile photo | Clean edges, no background clutter | Remove BG (0.5 credits), or Headshot for a full studio look |
| Print-ready 4K product shot | High-resolution transparent cutout | Remove BG, then Upscale (1 credit) |
How to get clean edges
Most bad cutouts trace back to the source photo, not the tool. A few habits fix the majority of edge problems before you even click generate.
- Shoot with contrast. A subject that's a similar color and brightness to its background is the single biggest cause of bad edges. Move your product off a matching countertop or wall.
- Use even, diffused light. Hard directional light creates a strong cast shadow that the AI sometimes treats as part of the subject, leaving a gray smear at the base of the cutout.
- Start from the highest resolution you have. Fine detail like individual hair strands is the hardest thing for any cutout model to preserve, and it only gets harder from a low-resolution source. Even strong AI cutouts can have noticeable downsides on hard cases, where finer details such as individual hair strands are lost in the process. If your original photo is large and sharp, you give the model far more information to work with.
- Avoid motion blur. A subject mid-movement has soft, ambiguous edges that confuse any segmentation model, AI or manual.
- Keep the subject fully in frame. Cropped hands, feet, or product edges at the border of the photo often get cut off unevenly.
None of this means you need a studio. It just means: plain-ish background, decent light, sharp focus, whole subject in frame.
Do it in Plurel
Here's the exact path, start to finish.
- Go to plurel.tech and sign up free with Google. You get 60 free credits, no card required.
- In the chat, look at the row under the composer: Image, Video, Documents, News. Click Image.
- Open the Remove BG tool directly at plurel.tech/?model=bg-remove, or select it from the Image tools panel.
- Upload your photo.
- Generate. It costs 0.5 credits and returns a transparent PNG in a few seconds.
- Download it from the chat, or find it later in your history.
From there, two common follow-ups:
- Add a new background. Open Edit and tell it what to put behind the subject — "place this product on a marble kitchen counter with soft morning light" — using any image model from Plurel Lite (0.5 credits) up to Nano Banana 2 (4 credits) or GPT Image 2.5 (3.5 credits) for the most photorealistic result.
- Go bigger. If you need a print-quality or 4K version, run the cutout through Upscale for 1 credit.
Because the chat edits what was just made, you can also just type a follow-up right after the cutout comes back — "put this on a plain white background" — instead of manually opening a separate tool.
If you're prepping a subject to eventually animate — a product spinning in front of a new backdrop, for instance — cutting the background out first, then generating a new scene, is the same workflow used in our guide on turning a photo into a video with AI. And if the photo is a personal or brand headshot you'll reuse across posts, see how to make an AI influencer and keep her consistent for tips on keeping the same face and look across multiple images.
Troubleshooting
There's a faint halo or fringe around the subject. This is leftover background color trapped in the semi-transparent edge pixels. It's more common on busy or low-contrast originals. Try Remove BG again on a version of the photo with the subject better separated from its background, or use Edit to nudge the color of the fringe to match the new backdrop.
Hair or fur looks patchy or cut off. This is the hardest case for every AI cutout tool, not a bug specific to one model. A higher-resolution original photo is the single biggest fix. If flyaway strands really matter (a headshot, a pet photo), consider a source photo where the hair isn't backlit or blowing across a busy background.
Glass, smoke, or transparent objects come out solid. Semi-transparent subjects are genuinely difficult because the "correct" answer isn't fully opaque or fully see-through — it's somewhere in between, and different photos need different amounts of it. Expect to touch these up manually with Edit rather than getting a perfect one-click result.
The cutout looks fine but the subject itself looks slightly soft. That's usually a resolution issue from the source image, not the removal step. Run Upscale after Remove BG rather than before.
Removing a background well is really about the photo you start with — plain-ish backdrop, even light, good resolution — and then one click. Once the cutout is clean, everything else in Plurel — new scenes, upscaling, video — builds on top of it.
Questions people ask
- Is an AI background remover actually free?
- Plurel's Remove BG tool costs 0.5 credits per photo, and every new account gets 60 free credits after signing up with Google, so most people can remove well over 100 backgrounds before paying anything.
- Why does my cutout have a white or gray outline around it?
- That halo is leftover background color trapped along the edge pixels, usually from a low-contrast or busy original photo; re-shoot against a plainer backdrop or touch up the edge with the Edit tool.
- Can AI background removal handle hair and fur properly?
- Modern AI models handle most hair well but can still soften or drop individual flyaway strands in fine, wispy areas; starting from a higher-resolution photo noticeably improves this.
- What file format do I get after removing the background?
- You get a PNG with a transparent background, which you can drop straight into a listing, a design tool, or another Plurel tool like Edit to add a new scene.
- Do I need a plain background for the AI to work?
- No, modern AI background removers are trained to separate a subject from complex, cluttered backgrounds too, but a plainer original background will almost always give you a cleaner result with less rework.
Sources
Keep going
How to Make an AI Influencer (and Keep Her Consistent)
Learn how to make an AI influencer with a consistent face across photos and video, then build one step by step in Plurel.
Updated Sep 19, 2026
AI Headshot Generator: Turn a Selfie Into a LinkedIn Photo
Learn how an AI headshot generator turns a selfie into a professional LinkedIn photo: what to upload, which styles to pick, and what to avoid.
Updated Sep 19, 2026

How to Make a Short Film With AI, Start to Finish
Learn how to make a short film with AI: write the plan, design a hero character, animate 3–5 clips, and assemble the finished film in Plurel.
Updated Sep 19, 2026

How to Turn a Photo Into a Video With AI
Learn how to turn a photo into a video with AI, step by step, using Seedance 2.5 or Kling 3.0 in Plurel's Animate tool — with prompts and credit costs.
Updated Sep 19, 2026